 This is the only brand of dryer sheets that I was able to find that are unscented. Not sure if it makes a difference or not if you use regular dryer sheets, but keep in mind that if you do use scented dryer sheets your card stock will be scented.
  Open and flatten 4 sheets and then fold in half bringing the left side to the right side.
  Place your die on a piece of card stock and run through your die cut machine one time.
  Without removing the paper from the die place, the die/paper on the folded dryer sheets. (Remember, there will be 8 layers now!) If the outside paper falls away when you lift it from the cutting platform, that's okay. You just need to make sure the rest of the paper is still embedded in the die.
  Run the card stock, die and dryer sheets through the cutting machine one time.
 Remove the die. The card stock will be adhered to the dryer sheet.
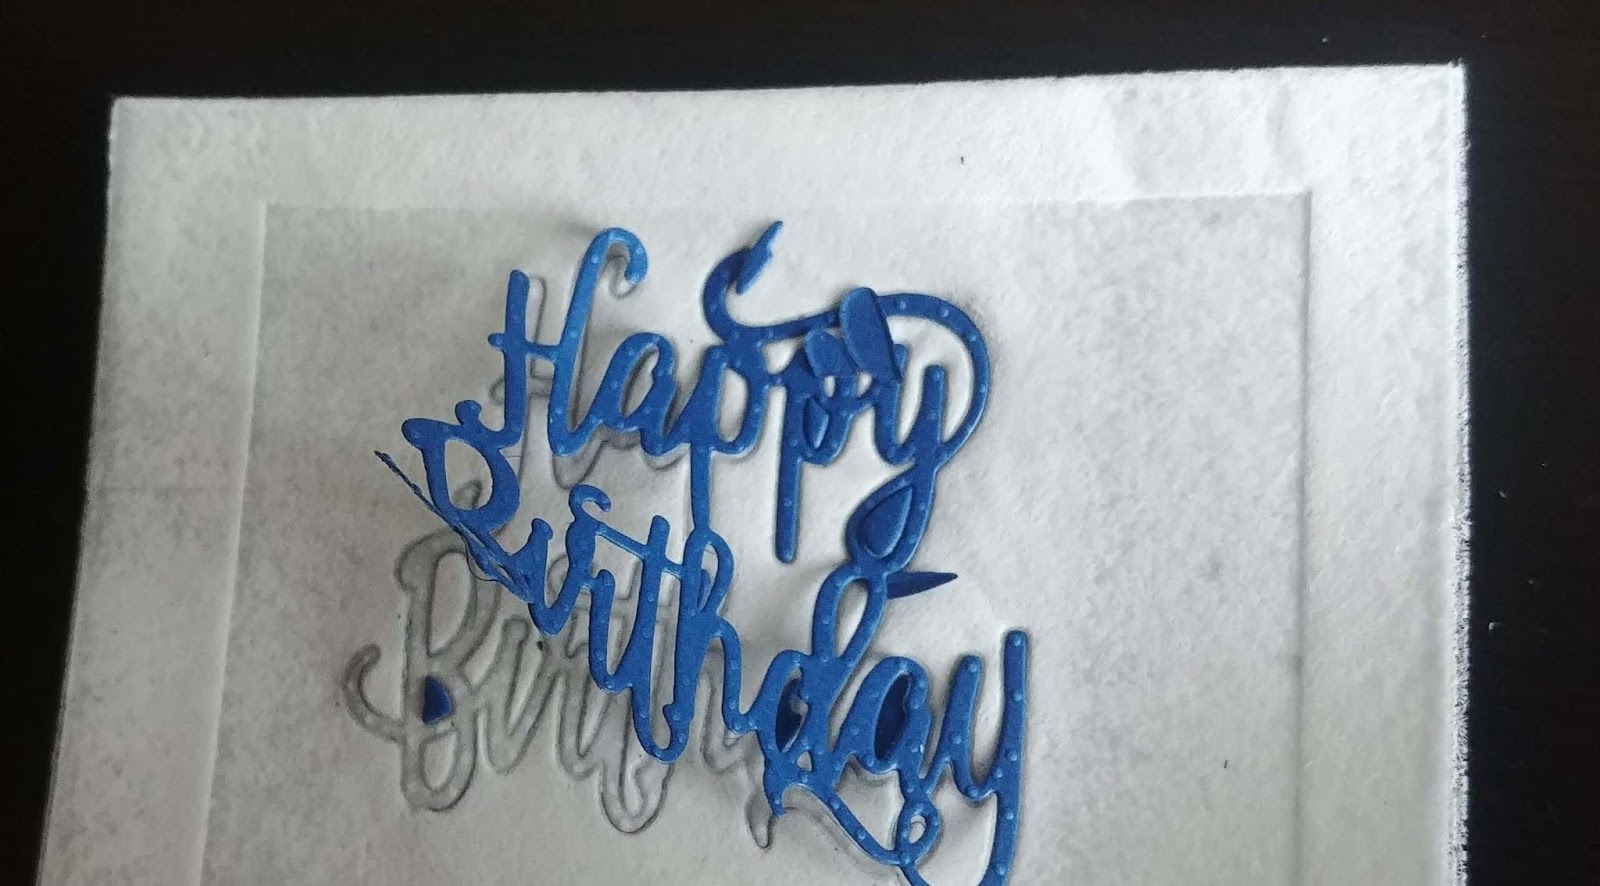 Carefully peel away the card stock from the dryer sheet.
Note: You may use the dryer sheet "packet" a number of times. I often crumple it a little when there are lots of the little chads left behind and they fall off pretty easily. I then just smooth it out a bit. I've also opened up the "packet" and turned it inside out so I have a completely clean surface. Use both sides of the "packet" as well! I probably get anywhere from 10 - 20 uses from the "packet" depending on the size of the dies I used.
No comments:
Post a Comment