Stampin’
with Judi
Newsletter – July 2019
Happy Summer!
Typically in the summer I don’t find much time to stamp, but this year
has been an exception. I’ve been pretty
lucky to spend a bit of time playing around – and organizing … which is an
endless task! I’ve also been working on
my blog quite a bit. You’ll see from the newsletter below that I have
referenced my blog quite a few times. I
think it will be easier to keep things all in one place. You will still need to RSVP for events on my SU!
website as well as shop – but you can link right from my blog to my SU!
site! I’m trying to get my number of
followers up and would appreciate it if you would follow me. There is a button
on the right side bar, near the top, that you can click to follow me. It is under all the little photos and it is a
blue button. If you want email notifications when I post you will need to enter
your email address in the “Follow by email”.
You will then receive notifications once a day but note, you may
unsubscribe at any time. If you decide to follow me and
would like to receive a 10% off coupon for any order in 2019 just comment under
the July Newsletter post (orange box directly under the post) and I’ll send you
the coupon!
Stampers Clubs!
I currently have two monthly groups going and would like to add another.
If you have a group of friends that would like to get together once a month to
stamp and socialize check out my blog and search “Stampers Club” for all the
details. There was a post on July 9,
2019.
Stamp in the Spotlight
The August Spotlight
class will feature Good Morning Magnolia
(pg. 37-38) which will be on Wednesday,
August 21, 2019 6:30-8:30.
Check out my blog for
more details and too see a sample card! Search “spotlight” for the specifics!
Need a Hostess code? Here’s one!
XY7JCYAU
|
|
|
Bonus Days
The annual Bonus Days promotion is underway! See all the details below.
- Earning Period July 1 - July 31, 2019
- You will earn a coupon code valued at $5 for every $50 you spend.
- An email address is required to participate;
Bonus Days coupon codes can be delivered only via email.
- If you earn multiple codes from a single order,
you will receive one email with multiple codes. If you earn multiple codes from
multiple orders, you will receive separate emails for each code earned.
- There is no limit to the number
of coupon codes you can earn per order or throughout the
duration of the Bonus Days earning period.
- The bonus coupon redemption period is Aug. 1 - 31, 2019.
Stampin’ by Judi Rewards Program
This year
I’m starting a Rewards Program using a card/stamp system. For every $25 spent in SU! product, or on
classes, you will receive a stamp on your card.
When the card is completed you will receive $25 in free SU!
product. Pick up your card and the
details at one of the Open Houses.
Virtual and online customers are also eligible. The program will begin on June 4, 2019. And you can earn incentive tickets to also earn stamps on your rewards card! (Ask me what it's all about!)
Looking Ahead!
Saturday, September 21, 2019 10:00 a.m. - 12:00 p.m. Stamp-a-Stack: Birthday
Saturday, November 2, 2019 10:00 a.m. - 12:00 p.m. Stamp-a-Stack: Christmas


 Inside
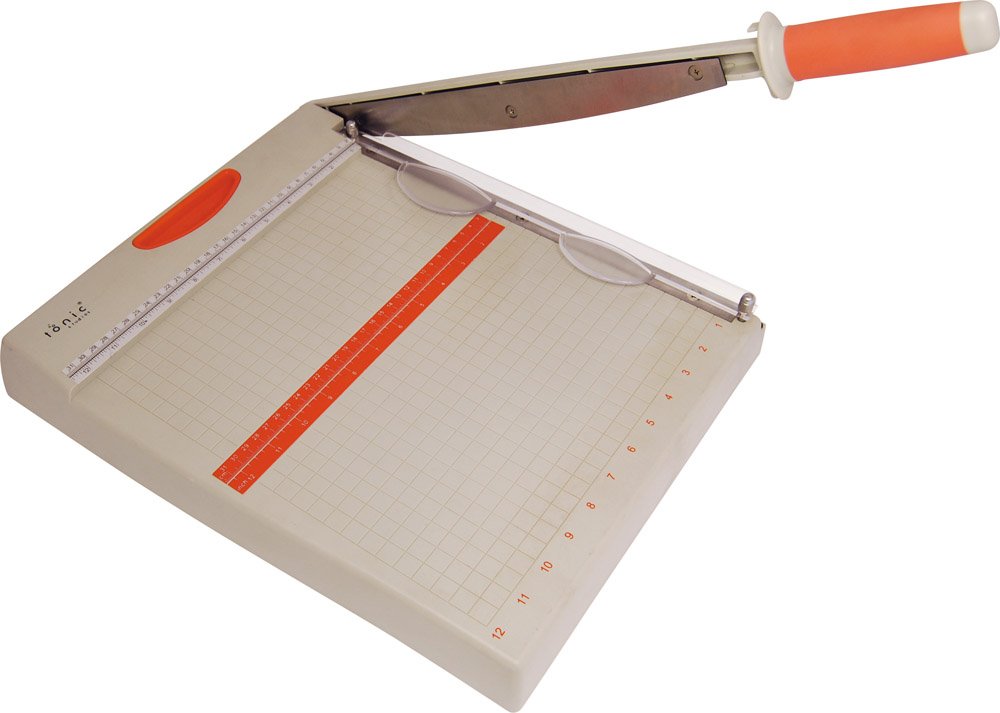 Tonic
Tonic Cutterpillar Crop
 X-acto