Facebook

Monday, May 17, 2021

Stampers Club - May 2021 - Featured Artist: Linda Lydon

  Our  Featured Artist for the May 2021 Stampers Club is Linda Lydon. The paper she was provided was In-Color 2020-2022 DSP - Cinnamon Cider and the coordinating colors are:  Bermuda Bay, Granny Apple Green, Basic Black and Basic White. She was also provided Cinnamon Cider ribbon. Thanks Linda for sharing your creativity! 


Silly Sea Creature

Base card: Basic White 4 1/4 x 5 1/2 
Granny Apple Green panel 4 x 5 1/4
Basic Black square 3 3/4 x 3 3/4
Basic White square 3 1/2 x 3 1/2
Scraps:  Basic White, Bermuda Bay and Granny Apple Green
Ink - Pool Party and Tuxedo Black
White Crinkled Seam Binding Ribbon


A Wish for Everything Stamps
Timeless Tulips Stamps
Smooth Sailing Dies
Word Wishes Dies
Tulip Builder Punch


  • Stamp Tulip (which becomes a sea creature!) with Pool Party ink on Basic White and punch out with coordinating punch. 
  • Stamp "Birthday" with black ink on bottom right of Granny Apple Green panel
  • Cut from Bermuda Bay scrap a piece of sea fern from the Smooth Sailing Dies and the word "Happy" from the Word Wishes dies.
  • Cut from Granny Apple Green scrap a piece of sea fern from the Smooth Sailing Dies. Cut both pieces of the sea ferns in half so you have four pieces all together.
  • Assemble as in sample. 
  • Add two black gems for eyes. 


Tulip Tag

Basic White strip 2 x 5
Scraps Melon Mambo
Ink:  Old Olive, Tuxedo Black and Melon Mambo

Timeless Tulips Stamps
Tulip Builder Punch
Fancy Tag Topper Punch

  • Stamp leaves and stem on Basic White with Old Olive ink.
  • Stamp "For You" with black ink on the bottom left of the tag. 
  • Punch three tulip blooms from Melon Mambo. Ink edges with Melon Mambo ink.
  • Score two of the tulips down the middle length-wise
  • Adhere the one unscored tulip onto the tag so that parts of the leaves still show.
  • Fold the scored tulips and adhere the right side of one of the tulips to the left side of the other.
  • Adhere the scored and adhered tulips to the tulip that was adhered to the tag.
  • Tie the ribbon into a bow on the top of the tag.  

TIP


Product List

Friday, April 30, 2021

New Catalog Launch Party Make 'n take

Hi all - glad you were able to swing by to grab your catalog. If you are one of the folks that is on my mailing list I'll send you a card kit. Thanks for supporting my business! (Shhhh the IRS doesn't know my obsession with rubber.)


Base card: Pale Papaya 7 x 5 1/2 (scored at 4 1/4)
Basic White strip - 1 1/2 x 4 1/2
Basic White panel - 4 x 5 1/4
Pansy Petals DSP  2 x 5
Scraps:  Basic White, Crumb Cake

Sweet Ice Cream Stamps
Ice Cream Cone Builder Punch

  • Stamp ice cream three times. Once each with Fresh Freesia, Pale Papaya and Polished Pink on Basic White scrap. Punch out with coordinating punch.
  • Punch "cone" from Crumb Cake scrap and stamp hash marks with early Espresso Ink
  • Emboss Basic White strip with Painted Texture Embossing folder.
  • Stamp "Happy Birthday" on Basic White panel with Evening Evergreen ink.
  • Assemble all as in sample.  


Monday, April 19, 2021

Stampers Club - April 2021 - Featured Artist: Taylor Bielski

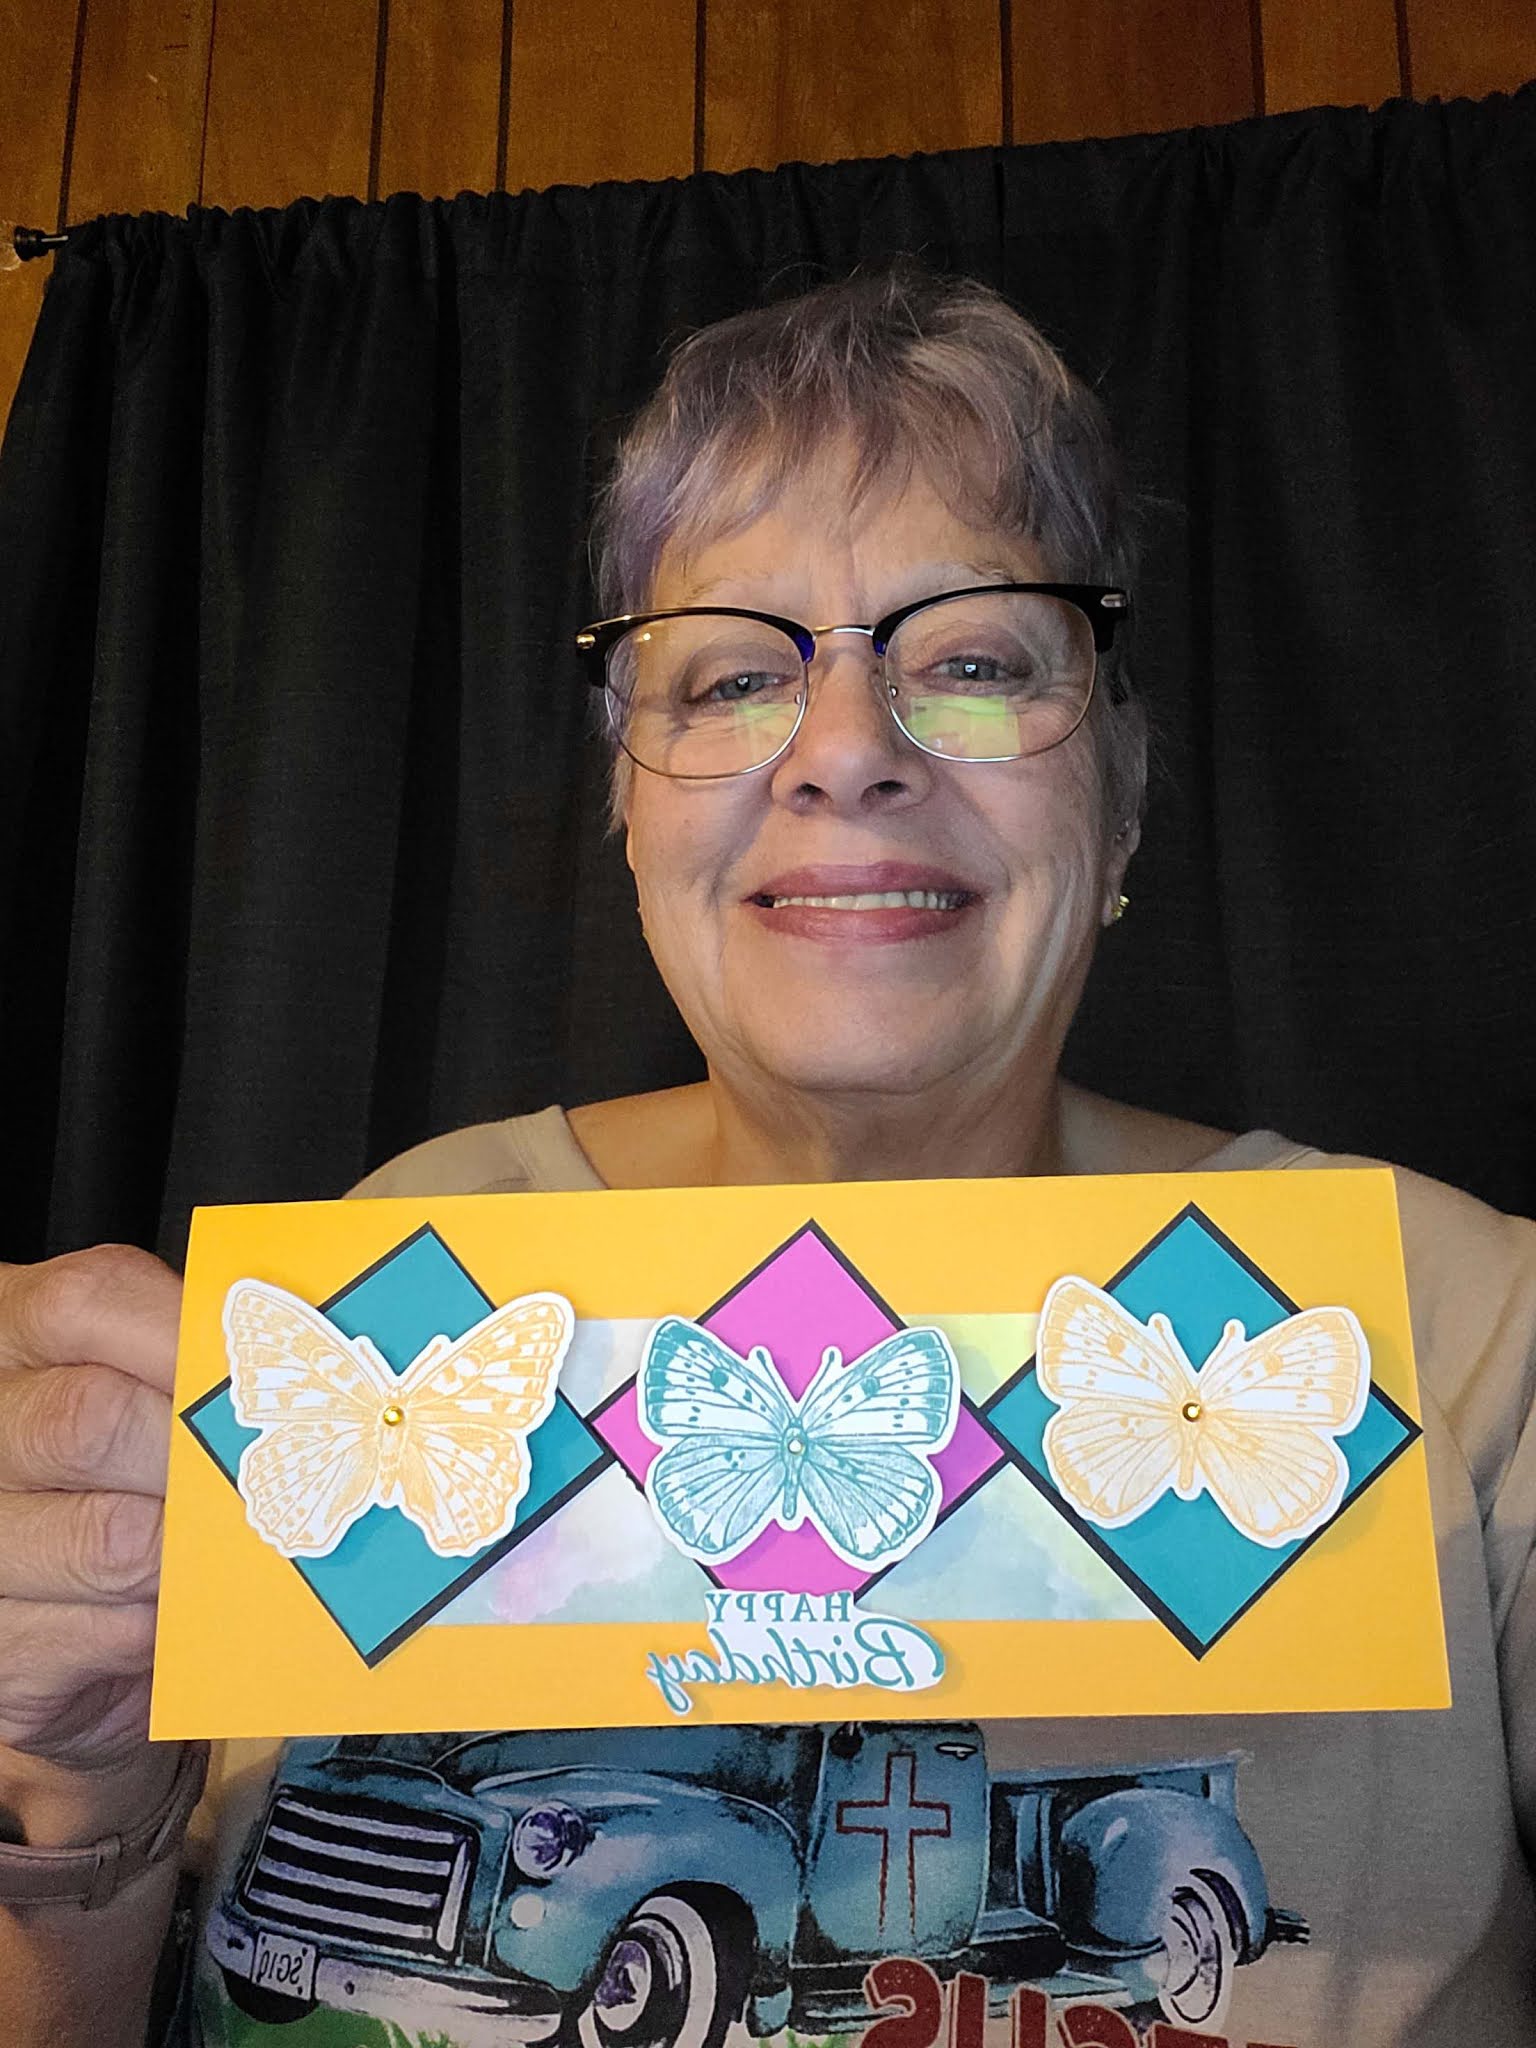
  Our  Featured Artist for the April 2021 Stampers Club is Taylor Bielski. The paper she was provided was Butterfly Bijou DSP and the coordinating colors are:  Calypso Coral, Mango Melody, Basic Black and Basic White. Taylor used Bermuda Bay and Granny Apple Green ink along with stamps from Pretty Perennial and Tasteful Touches. Thanks Taylor for sharing your creativity! 


Butterfly Trio


Base card: Magenta Madness 4 1/4 x 5 1/2 
Basic black strip - 1/2 x 5 1/2
Butterfly Bijou DSP (no longer available) 2 x 5 1/2
Scraps:  Basic White


Butterfly Brilliance Stamps
Brilliant Wings Dies

  • Stamp butterflies with Mango Melody ink on Basic White and cut out with coordinating die. 
  • Assemble as in sample. 


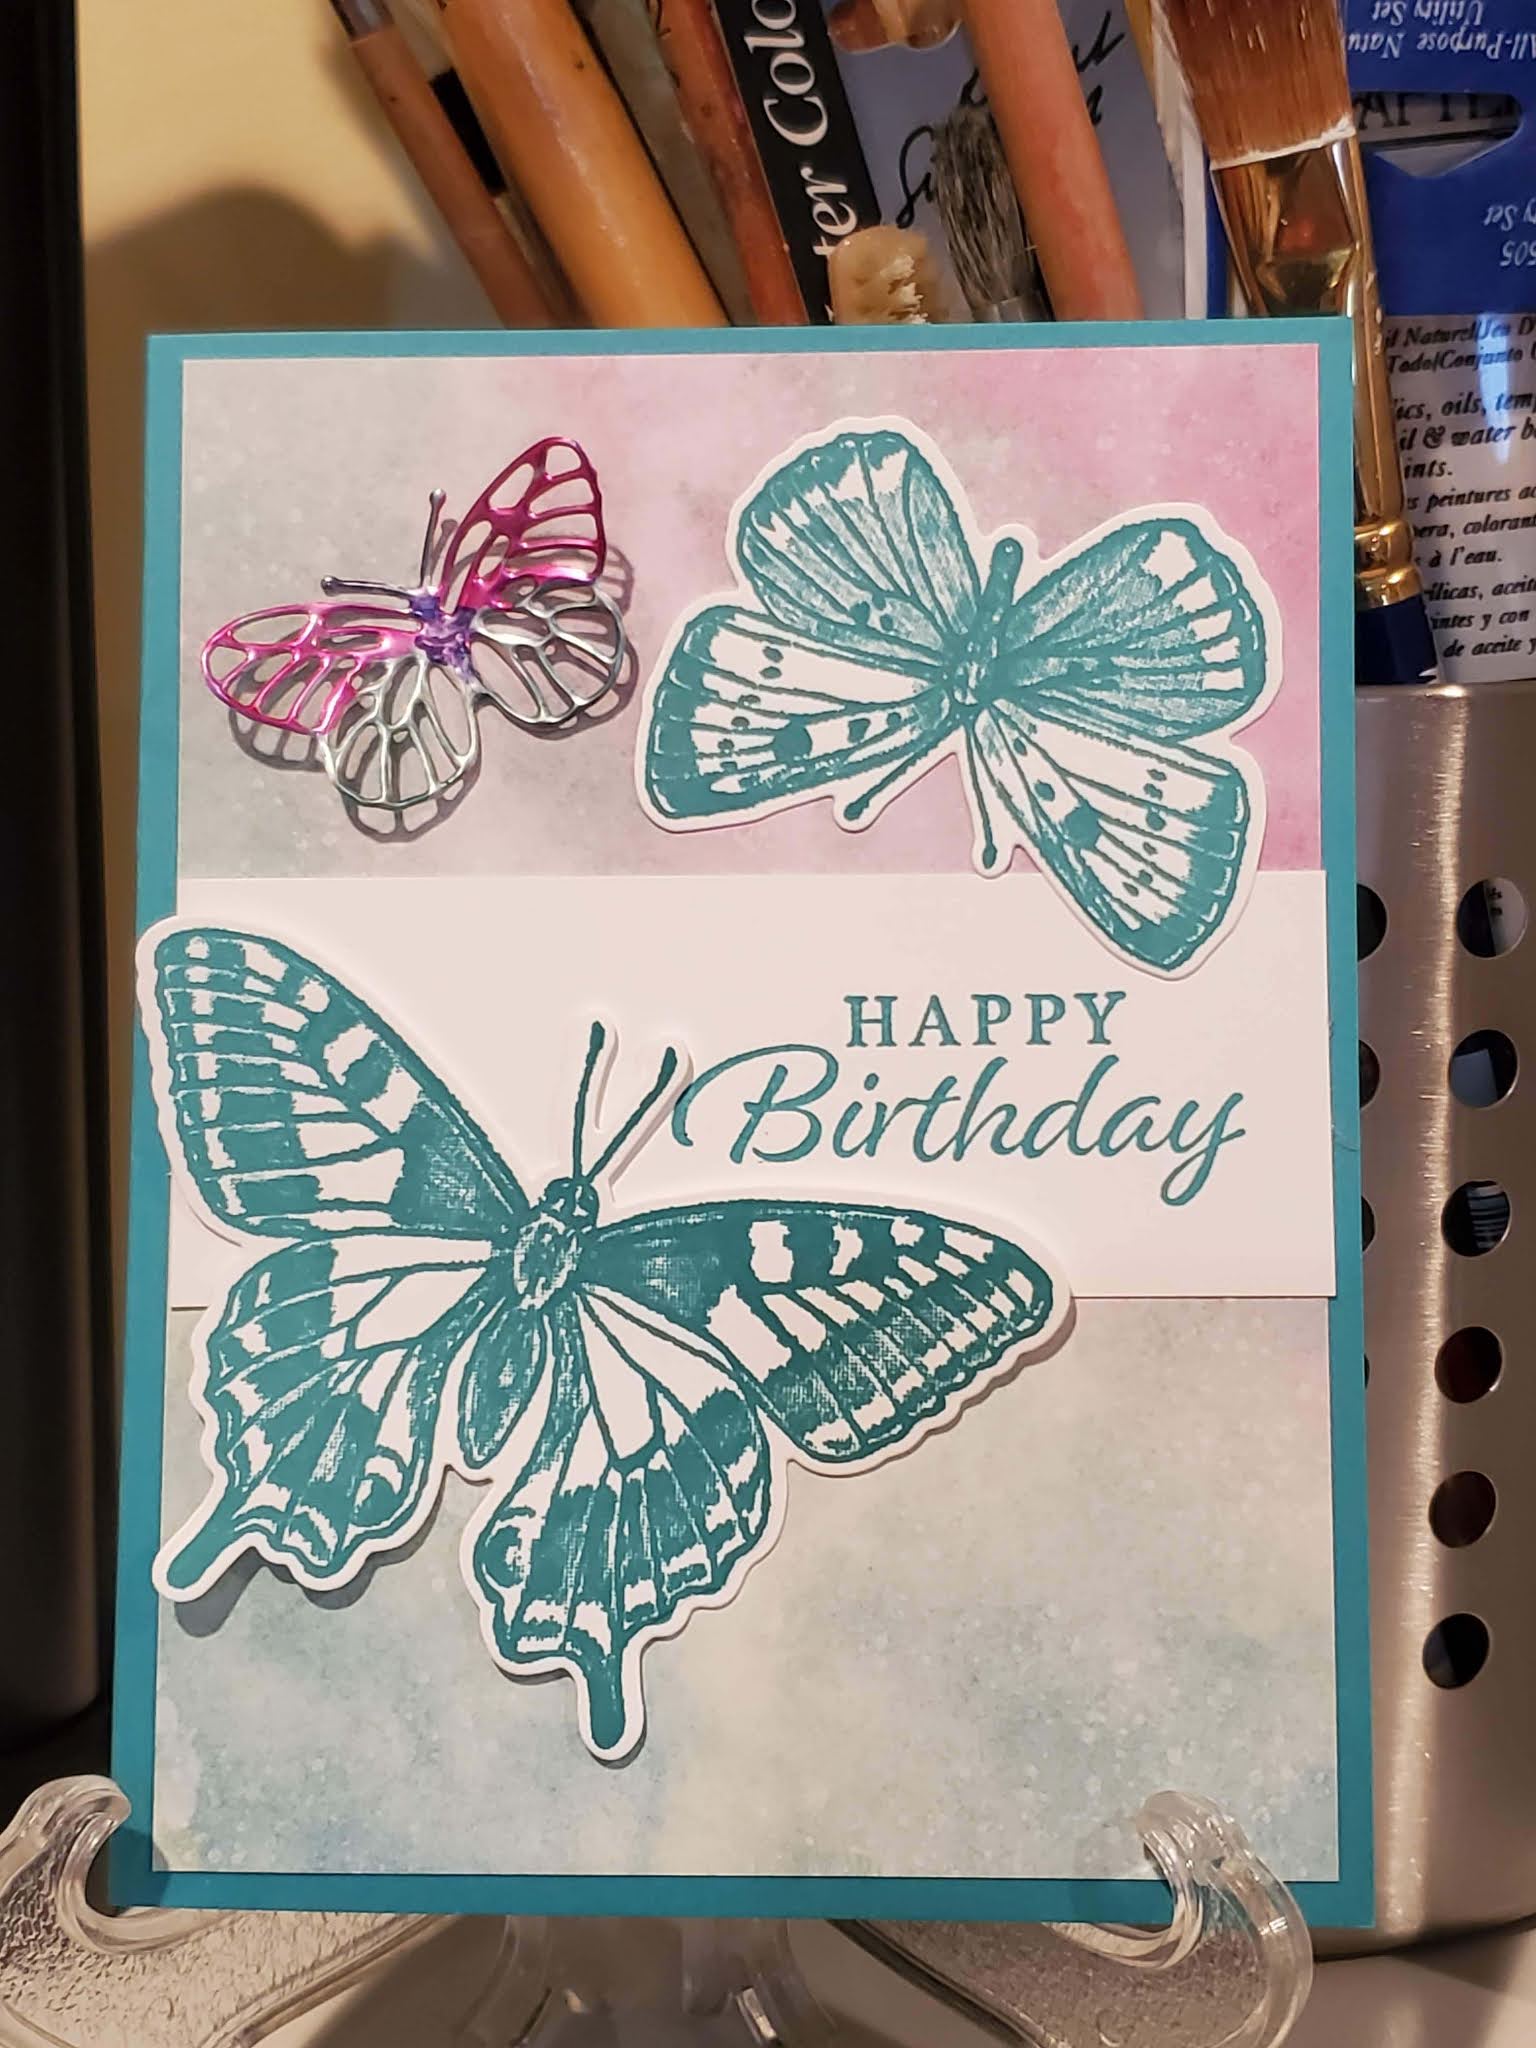
Butterfly Birthday


Base card: Bermuda Bay 4 1/4 x 5 1/2 
Basic White strip - 1 1/2 x 4
Butterfly Bijou DSP (no longer available) 4 x 5 1/4
Scraps:  Basic White


Butterfly Brilliance stamps
Happy Thoughts stamps
Brilliant Wings Dies

  • Stamp butterflies with Bermuda Bay ink on Basic White and cut out with coordinating die. 
  • Stamp Happy Birthday on Basic White strip with Bermuda Bay ink. 
  • *Cut small butterfly from aluminum beverage can. Color with alcohol markers
  • Assemble as in sample. 


*Die cutting with aluminum beverage cans

I learned this technique at one of the stamp shows from Cristina Tessler, owner of Tessler Crafts. The Stampin’ Cut and Emboss Die Cut Machine is a different die cut machine than she uses so the need for shims and extra paper or foam is not necessary.  I’ve included a link to her video though in case you want to see it.  The expression of a “round trip” I’ll use below for running through the die machine multiple times is Cristina’s.

Cutting the Can

Aluminum cans are thinner than one would think and can easily be cut with sturdy household scissors.

  • Poke a hole with the tip of the scissors near the top of the can and cut all the way around, removing the top of the can.
  • Cut straight down towards the bottom of the can and stop just slightly above the bottom.  Cut around to remove the bottom of the can just as you did to remove the top of the can.
  • You will now have a thin metal sheet, approximately 3 ½ x 7 ½ inches or so.

BE CAREFUL – sharp edges!!!

Die Cutting Aluminum

  • Cut an appropriate sized piece of aluminum for the die you wish to cut and place on the cutting plate. I use my old Big Shot magnetic plate plus two #3 cutting plates – just as I would with cutting a piece of cardstock.  You may have to tape down the piece of aluminum if it is curling too much. (You can also bend it a bit to flatten it some.) 
  • Place the die face down on the aluminum (you might have to tape this too!) and run through the die cut machine 2 “round trips”. (So this will be four passes through the machine.) 
  • Using your Take Your Pick brush remove any of the metal chads.  If the image isn’t cut all the way through you can carefully put the aluminum back into the die and cut it again.  I wouldn’t do more than one more pass through the machine.
  • If you have a finicky die that just won’t cut all the way through you can put a piece of cardstock under the aluminum sheet to see if that helps.
  • You can color the cut images with any alcohol markers – it will become permanent after a short drying time. 


Product List